How to Use Ultra-Filtered Milk in Homemade Protein Ice Cream: Easy No-Churn Recipes
By Fairlifesale | Published: 2026-05-28
Category: How-to Guides
Learn how to make creamy, high-protein no-churn ice cream using ultra-filtered milk. Easy recipes with 20g+ protein per serving, no ice cream maker required.
Craving a cool, creamy dessert but don't want to sabotage your fitness goals? Homemade protein ice cream is the answer—and the secret ingredient is ultra-filtered milk. Unlike regular milk, ultra-filtered milk is gently concentrated to pack more protein and less sugar per cup, giving your frozen treats a luscious texture without the need for heavy cream or artificial thickeners. In this guide, you'll discover how to use ultra-filtered milk to make no-churn ice cream that rivals store-bought brands—right from your own freezer. Plus, we'll share two foolproof recipes that deliver over 20 grams of protein per serving.
Why Ultra-Filtered Milk Is Perfect for No-Churn Ice Cream
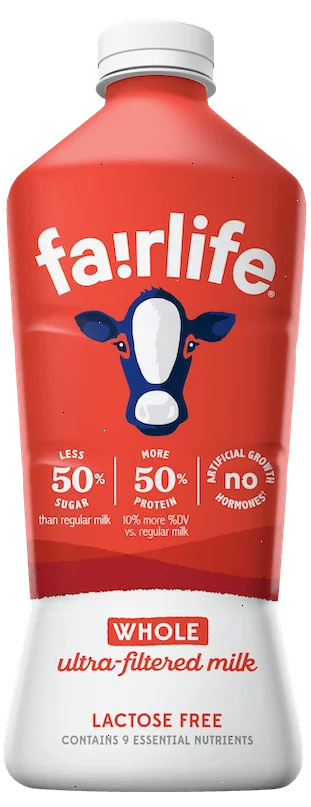
Traditional no-churn ice cream recipes rely on heavy cream and sweetened condensed milk for richness. While delicious, those ingredients are high in saturated fat and sugar. Ultra-filtered milk offers a smarter alternative. Because it has more protein and less milk sugar (lactose) than regular milk, it creates a denser, creamier base that freezes with fewer ice crystals. The high protein content also acts as a natural stabilizer, mimicking the role of gums or eggs in commercial ice cream. For the best results, choose a variety like WHOLE ULTRA-FILTERED MILK for a rich mouthfeel, or 2% Reduced Fat Ultra-Filtered Milk if you prefer a lighter option.
Key Tips for Perfect No-Churn Protein Ice Cream
- Use a high-protein milk: Ultra-filtered milk naturally contains 13–15g protein per cup, which helps prevent icy texture. Avoid low-protein alternatives.
- Chill your base thoroughly: For best results, refrigerate the mixture for at least 2 hours before churning or freezing. Cold bases whip up fluffier.
- Add a natural thickener: A tablespoon of arrowroot powder or unflavored gelatin helps create a scoopable texture without artificial additives.
- Don't over-sweeten: Ultra-filtered milk is slightly sweeter than regular milk, so reduce added sugar by 25% compared to standard recipes.
- Use a food processor or blender: No ice cream maker? No problem. Frozen banana or whipped aquafaba can replace the need for churning.
Recipe 1: Classic Chocolate No-Churn Protein Ice Cream
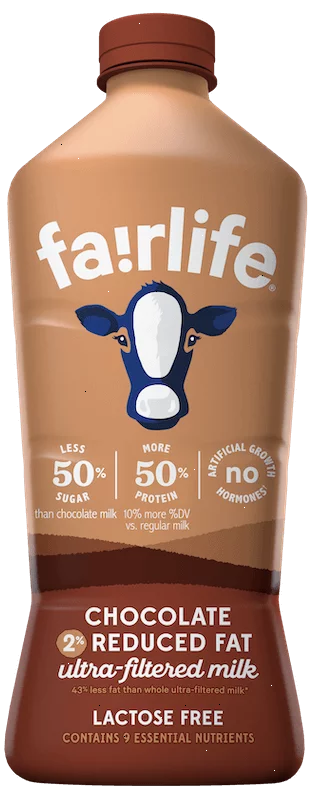
This recipe is a crowd-pleaser and comes together in minutes. It uses CHOCOLATE ULTRA-FILTERED MILK for a double-chocolate punch that's both decadent and nutritious.
Ingredients
- 2 cups CHOCOLATE ULTRA-FILTERED MILK
- 2 scoops chocolate protein powder (whey or plant-based)
- 1/4 cup unsweetened cocoa powder
- 1/4 cup honey or maple syrup
- 1 tsp vanilla extract
- 1 tbsp arrowroot powder (optional, for texture)
- 1/2 cup dark chocolate chips or cacao nibs
Instructions
- In a blender, combine the ultra-filtered milk, protein powder, cocoa powder, honey, vanilla, and arrowroot powder. Blend until smooth.
- Pour mixture into a shallow, freezer-safe container. Stir in chocolate chips.
- Freeze for 4–6 hours, stirring vigorously every hour to break up ice crystals (or use an ice cream maker if you have one).
- Let sit at room temperature for 5 minutes before scooping. Enjoy a 1/2-cup serving with about 22g protein.
Recipe 2: Strawberry Banana Protein Nice Cream
This no-churn recipe uses frozen fruit as a base, so you don't need an ice cream maker at all. It's dairy-free friendly if you choose a plant-based protein, but we recommend using ultra-filtered milk for extra creaminess.
Ingredients
- 2 ripe bananas, peeled and frozen
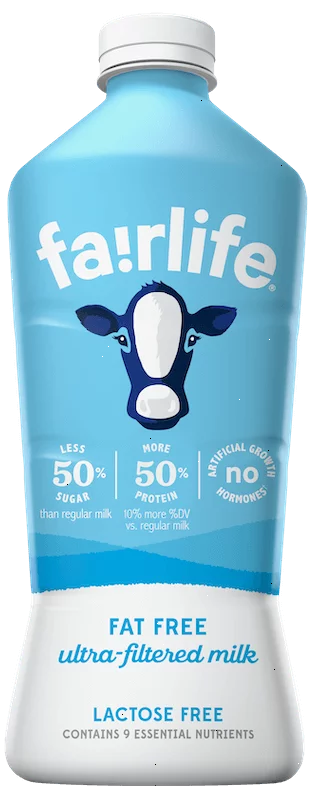
- 1 cup FAT FREE ULTRA-FILTERED MILK
- 1 scoop vanilla or strawberry protein powder
- 1/2 cup frozen strawberries
- 1 tbsp almond butter (optional, for healthy fats)
Instructions
- Let frozen bananas sit at room temperature for 5 minutes to soften slightly.
- In a high-speed blender or food processor, combine bananas, ultra-filtered milk, protein powder, and strawberries. Blend until thick and creamy, scraping down sides as needed.
- For a firmer texture, transfer to a container and freeze for 1 hour. Otherwise, serve immediately as soft-serve.
- Top with crushed nuts or extra berries. Each serving provides around 18–20g protein.
Flavor Variations to Try
| Flavor | Key Ingredient Swap | Protein Boost |
|---|---|---|
| Peanut Butter Cup | Replace cocoa with 3 tbsp peanut butter | Add 1 scoop chocolate protein |
| Mint Chip | Add 1 tsp peppermint extract + 1/4 cup dark chocolate chips | Use vanilla protein powder |
| Coffee Crunch | Stir in 2 tbsp instant espresso powder | Pair with chocolate ultra-filtered milk |
| Cookies and Cream | Crush 4–5 low-sugar chocolate sandwich cookies into base | Use half vanilla, half chocolate protein |
How to Store and Serve Homemade Protein Ice Cream
Homemade no-churn ice cream is best enjoyed within one week. To prevent freezer burn, press a piece of parchment paper directly onto the surface before sealing the container. If the ice cream becomes too hard after a few days, let it sit at room temperature for 10 minutes or microwave for 10–15 seconds to soften. For a quick single-serving treat, pour leftover base into popsicle molds—these make excellent high-protein frozen pops for hot afternoons.
Why This Beats Store-Bought Protein Ice Cream
Most commercial protein ice creams contain artificial sweeteners, gums, and emulsifiers to achieve a creamy texture. By making your own with ultra-filtered milk, you control exactly what goes in—no hidden additives, no sugar alcohols that upset digestion, and you can tailor the flavor to your cravings. Plus, ultra-filtered milk is naturally lactose-friendly, so even those with mild sensitivities can enjoy a generous bowl without discomfort.
Ready to whip up a batch? Start with CORE POWERC HOCOLATE for an instant protein boost—just blend it with frozen banana and a tablespoon of cocoa for a 30-second frozen dessert that tastes like a milkshake. Your taste buds and your muscles will thank you.